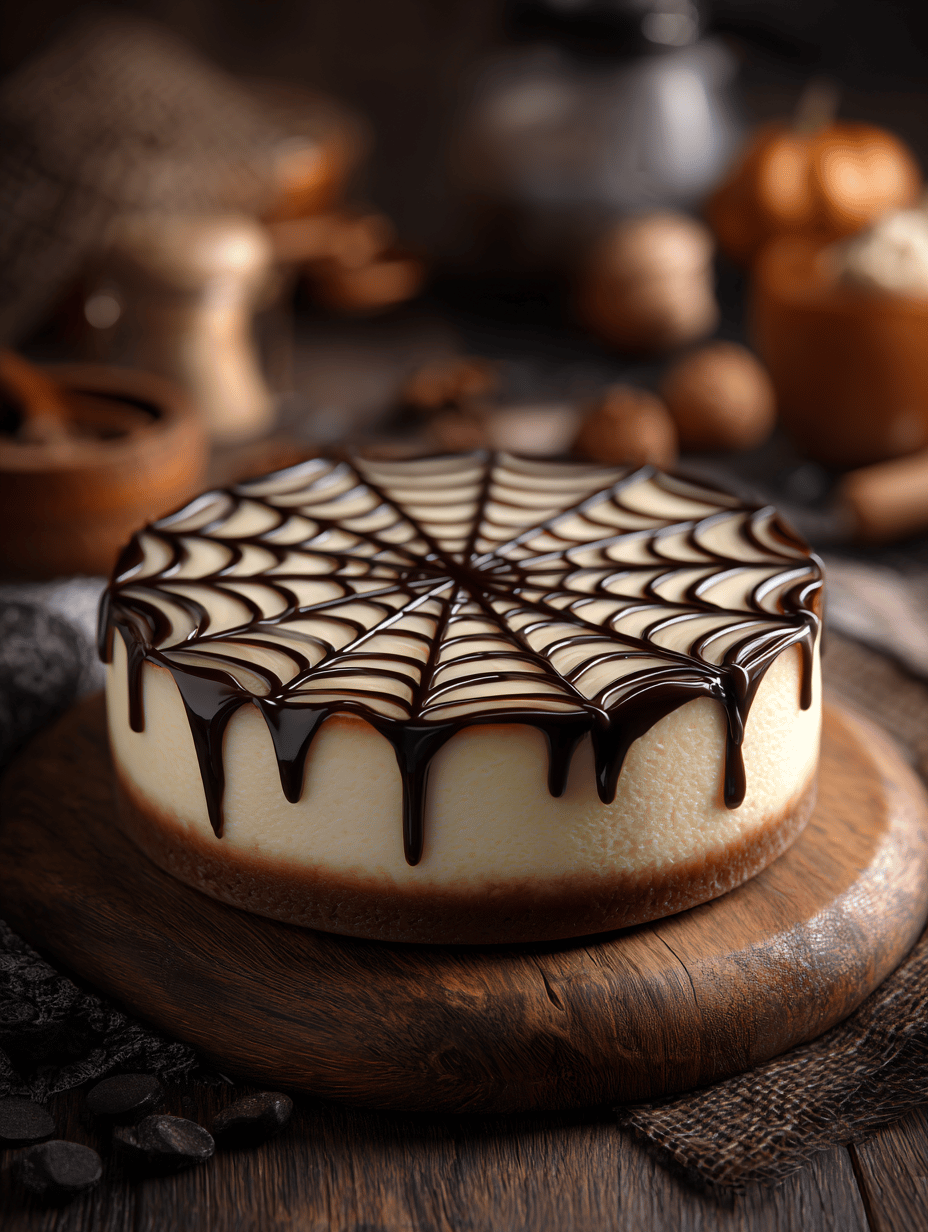
I stumbled onto the idea of a spiderweb cheesecake during a chaotic baking afternoon. It’s a dessert that plays with visuals but also demands a certain finesse in execution. The web pattern is surprisingly forgiving once you get the hang of it, making it a perfect project for a family gathering or a whimsical dinner party. Plus, it’s a conversation starter — who doesn’t love a good web, especially when it’s edible?
Why this cheesecake keeps calling me back
It’s the mix of texture and visual playfulness. The web pattern makes baking feel like a craft, not just a task. Each time, I find a new way to tweak the toppings or flavor accents. It’s imperfect, messy, but always a reminder that a little chaos can turn into art.
Inside the ingredients: what makes this web special
- Digestive biscuits: Crushed for a buttery, crumbly base that holds well.
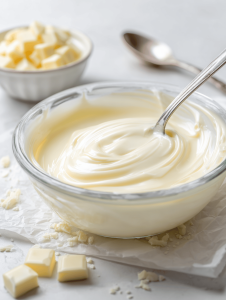
- Cream cheese: The creamy core of the cheesecake, velvety and tangy.
- Lemon zest: Adds a bright, citrusy zing that cuts through richness.
- Sour cream or whipped cream: For creating the web; should be chilled for best pattern.
- Eggs: Bind the filling, giving it stability and a rich texture.
- Butter: Marries the biscuit crumbs into a sturdy crust, aroma like toasted nuts.
- Sugar: Sweetens without overpowering the subtle tang of the cheese.
Tools of the trade for a webbed wonder
- Springform pan 23cm (9-inch): To shape and bake the cheesecake evenly.
- Mixing bowls: For preparing crust and filling components.
- Electric mixer or whisk: To beat the cream cheese and eggs smoothly.
- Spatula: To fold ingredients gently and spread the batter.
- Toothpick or skewer: To draw the web pattern on the cheesecake.
Step-by-step guide to crafting your spiderweb cheesecake
Step 1: Preheat your oven to 160°C (320°F).
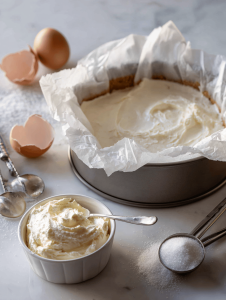
Step 2: Mix crushed biscuits with melted butter until crumbly. Press into the bottom of a 23cm (9-inch) springform pan. Bake for 10 minutes, then set aside.
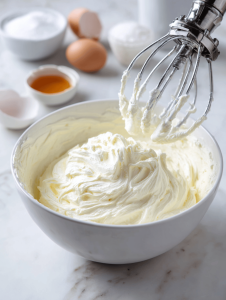
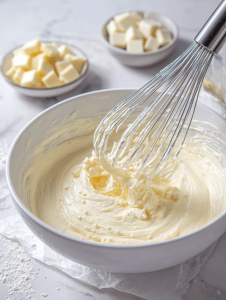
Step 3: In a bowl, beat cream cheese with sugar until smooth and fluffy, about 3 minutes.
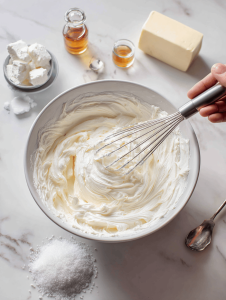
Step 4: Add eggs one at a time, then mix in vanilla and lemon zest. Avoid overmixing.
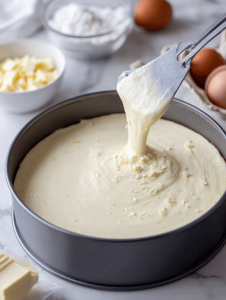
Step 5: Pour the filling over the crust and bake for 45-50 minutes, until the edges are set but the center jiggles slightly.
Step 6: Once baked, turn off the oven and leave the cheesecake inside for an hour to prevent cracks.
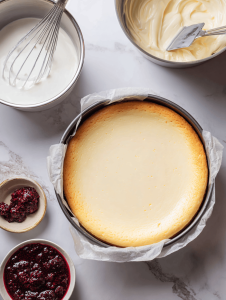
Step 7: Transfer to a wire rack and cool completely. Chill in the fridge for at least 4 hours, preferably overnight.
Step 8: Before serving, create the spiderweb pattern using sour cream or whipped cream, dragging a toothpick through to form web-like lines.
Cooking checkpoints and tips to get it just right
- The crust should be golden and crisp, not soggy or burnt.
- The filling should be smooth, with no lumps or cracks, and just slightly jiggly in the center.
- The web pattern should hold without smudging or melting into the filling.
- The cheesecake should be chilled thoroughly to set the pattern and enhance flavor.
Oops moments and how to fix them
- Overbaking or sudden temperature changes.? Cracks on top?
- Using warm sour cream or whipped cream.? Web smudging?
- Not enough butter or pressing too lightly.? Base too crumbly?
- Web mixture too runny or not enough contrast.? Pattern not visible?
Spiderweb Cheesecake
Ingredients
Equipment
Method
- Preheat your oven to 160°C (320°F). Mix crushed digestive biscuits with melted butter until evenly combined, then press the mixture into the bottom of a 23cm (9-inch) springform pan to create an even crust. Bake for 10 minutes until lightly golden, then set aside to cool.
- In a large mixing bowl, beat the softened cream cheese and sugar together with an electric mixer until smooth and fluffy, about 3 minutes. This creates a silky, creamy base for your cheesecake.
- Add eggs one at a time, mixing gently after each addition, then stir in vanilla extract and lemon zest. Be careful not to overmix; you want a smooth, even batter with no lumps.
- Pour the filling over the cooled crust, spreading it evenly with a spatula. Place the pan in the oven and bake for 45-50 minutes, until the edges are set but the center still jiggles slightly when gently shaken.
- Turn off the oven and leave the cheesecake inside with the door slightly ajar for an hour to prevent cracks. Then, transfer the cheesecake to a wire rack and allow it to cool completely at room temperature.
- Once cooled, refrigerate the cheesecake for at least 4 hours or overnight to set fully. This helps it firm up and makes decorating easier.
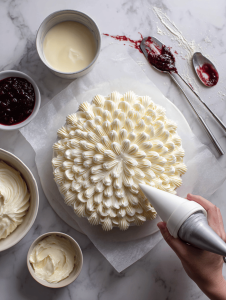
- Spread the chilled sour cream or whipped cream evenly over the top of the cheesecake, creating a smooth surface for your web pattern.
- Using a toothpick or skewer, draw concentric circles on the cream surface to form the web pattern. Then, drag a line from the center outward through the circles to complete the web design. Take your time to make it look neat and intricate.
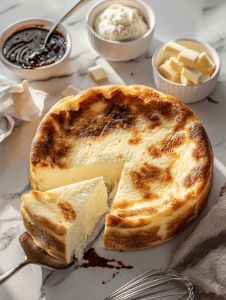
- Serve the cheesecake chilled, showcasing its creamy texture and striking web decoration. Cut into slices and enjoy the delightful combination of tangy, sweet, and crisp flavors with a beautiful presentation.

Welcome to Owning This Stove. I’m so glad you’re here. I’m a food blogger, recipe developer, and storyteller who believes food is one of the most honest ways to understand a place, a person, or a moment in time. This blog is where I collect those moments, from quiet mornings in unfamiliar kitchens to crowded cafés filled with conversation and clinking cups.