Category: Desserts

  • Spooky and Sticky: Halloween Dirt Cake with Gummy Worms

    Spooky and Sticky: Halloween Dirt Cake with Gummy Worms

    Every October, I look forward to the chaos in the kitchen as I craft my Halloween treats. This year, I decided to dive into a nostalgic dessert with a creepy twist: Dirt Cake with Gummy Worms. Its rich chocolate layers combined with colorful, squirming worms make it a hit every time.

    The best part? This dirt cake is a messy, joyful celebration of childhood, perfect for Halloween parties. The aroma of cocoa and the squish of gummy worms bring back memories of spooky fun and childhood mischief. Plus, it’s surprisingly easy to assemble, making it an ideal last-minute treat.

    Dirt Cake with Gummy Worms

    Dirt Cake with Gummy Worms is a layered no-bake dessert featuring crushed cookies, creamy chocolate filling, and colorful gummy worms for a playful, textured finish. The dish is assembled in stages, creating a moist crumbly base with smooth, rich layers and whimsical decorations that resemble a messy mound of dirt. Its final appearance is a fun, crumbly cake topped with squirming gummy worms, perfect for Halloween celebrations.
    Prep Time 20 minutes
    Total Time 20 minutes
    Servings: 8
    Course: Main Course
    Calories: 350

    Ingredients
      

    • 1 1/2 cups chocolate cookie crumbs from crushed chocolate cookies
    • 1/2 cup unsweetened cocoa powder for added chocolate flavor
    • 1/2 cup granulated sugar to sweeten the filling
    • 8 oz cream cheese softened
    • 2 cups heavy cream chilled
    • 1 cup mini chocolate chips optional, for extra richness
    • 12 gummy worms gummy worms for decoration

    Equipment

    • Mixing bowls
    • hand mixer
    • serving dish

    Method
     

    1. Combine the chocolate cookie crumbs, cocoa powder, and granulated sugar in a large mixing bowl. Stir until evenly mixed, creating a crumbly base that resembles dirt.
    2. Add the softened cream cheese to the bowl and mix with a hand mixer until smooth and well incorporated. This will create a rich, creamy layer.
    3. In a separate bowl, whip the chilled heavy cream with the hand mixer until stiff peaks form, about 3–4 minutes. Gently fold the whipped cream into the cream cheese mixture, combining carefully to maintain volume.
    4. Fold in the mini chocolate chips if using, adding extra chocolaty texture to the filling.
    5. Spread half of the cookie crumb mixture evenly into a serving dish, pressing it down slightly to form a firm base.
    6. Spoon and spread the creamy chocolate filling over the base layer, smoothing it with the back of a spoon for an even surface.
    7. Top with the remaining crumb mixture, spreading it gently to cover the creamy layer completely, creating a ‘dirt’ look.
    8. Press the gummy worms into the top layer, arranging them so they appear to be squirming up through the dirt.
    9. Refrigerate the dirt cake for at least 2 hours or until set, allowing the layers to firm up and flavors to meld.
    10. Carefully slice and serve the chilled dirt cake, marveling at the layered look and playful gummy worms.

    This simple yet playful dessert captures the spirit of Halloween — fun, a little spooky, and wholly satisfying. It’s a great way to add a touch of chaos to your celebration without hours in the kitchen. Plus, the kid in all of us loves digging into a cup of chocolatey dirt, worms and all.

    Whether you’re hosting a ghoulish gathering or just want a sweet surprise, this dirt cake is a foolproof choice. Its combination of textures and flavors keeps everyone coming back for more. Have fun creating layers of spooky goodness and watching the little ones delight in their gummy worms adventure.

  • Spooktacular Secrets: Crafting Perfect Halloween Ghost Brownies

    Spooktacular Secrets: Crafting Perfect Halloween Ghost Brownies

    Halloween is the one night when chaos turns charming and the kitchen becomes a haunted laboratory. These Ghost Brownies are not just treats; they’re a spooky celebration of chocolate, with a touch of ghostly whimsy. Crafting them is a bit of playful mischief, perfect for those who love unique twists on classic desserts.

    What sets these brownies apart is the delicate balance of gooey richness and the playful ghostly accents that make everyone smile. Imagine the smell of melting chocolate mingling with a hint of vanilla, all set against the thrill of Halloween. It’s a simple project with big, memorable results that bring a little magic to the spooky season.

    Ghost Brownies

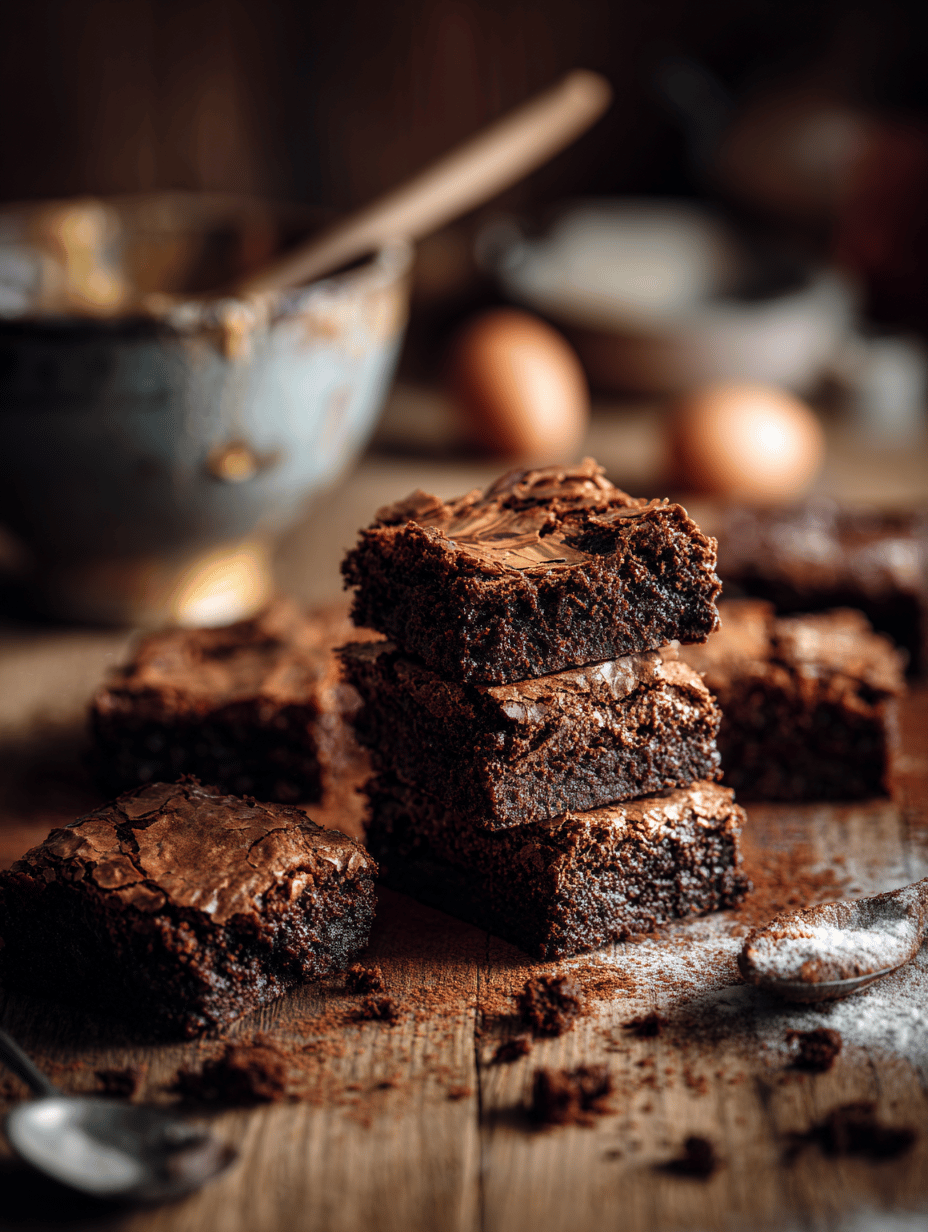
    Ghost Brownies are rich, fudgy chocolate desserts with a chewy texture, topped with ghostly white decorations for a spooky Halloween theme. The recipe involves mixing melted chocolate with eggs and sugar, baking until just set, then adding playful ghost accents on top. The final appearance features dark, glossy brownies with cute, white ghost faces, perfect for festive celebrations.
    Prep Time 15 minutes
    Cook Time 25 minutes
    Total Time 40 minutes
    Servings: 12
    Course: Main Course
    Cuisine: American
    Calories: 210

    Ingredients
      

    • 1 cup unsweetened cocoa powder for richness
    • 1 cup all-purpose flour for structure
    • 1/2 cup granulated sugar sweetens the brownies
    • 1/2 cup brown sugar adds depth of flavor
    • 1/2 cup unsalted butter melted for richness
    • 2 large eggs for binding
    • 2 teaspoons vanilla extract flavor enhancer
    • 1/2 cup all-purpose flour for structure
    • 2 teaspoons milk milk or heavy cream to thin the icing
    • black food coloring gel or liquid for ghost eyes and mouths

    Equipment

    • Mixing bowls
    • Baking pan
    • Whisk
    • Spatula
    • Piping bags or plastic bags

    Method
     

    1. Preheat your oven to 350°F (175°C) and line a baking pan with parchment paper.
    2. Melt the butter in a microwave or on the stove until just melted, then stir in the cocoa powder to form a smooth mixture. This creates a rich chocolate base.
    3. In a large bowl, whisk together the eggs, granulated sugar, and brown sugar until the mixture is smooth, light, and slightly fluffy, about 2 minutes. The sugars should be well incorporated and the mixture slightly increased in volume.
    4. Gradually pour the melted chocolate mixture into the egg and sugar mixture, whisking constantly to combine evenly. The batter will darken and become glossy.
    5. Stir in the vanilla extract for added flavor, then sift in the remaining flour and fold gently with a spatula until no streaks remain. Be careful not to overmix to keep the brownies tender.
    6. Pour the batter into the prepared baking pan, spreading it evenly with a spatula to smooth the top.
    7. Bake for 25–28 minutes, or until a toothpick inserted in the center comes out with moist crumbs. The edges should feel firm but the center still slightly soft.
    8. Allow the brownies to cool completely in the pan on a wire rack—this helps them set and makes cutting easier.
    9. Once cooled, melt the white chocolate chips in short bursts in the microwave, stirring in between until smooth. Thin with milk or heavy cream to get a pipeable consistency.
    10. Transfer the melted white chocolate into piping bags or plastic zip-top bags and snip a small corner for piping. Pipe ghost shapes onto each brownie, then add small dots for eyes and tiny M shapes for mouths, using black food coloring for details.
    11. Let the decorations set at room temperature until firm. Slice the brownies into squares and serve these spooky treats for a fun Halloween dessert.

    Notes

    For easier decorating, consider refrigerating the decorated brownies for 10-15 minutes to set the white chocolate ghosts before serving.

    These Ghost Brownies are a playful addition to any Halloween spread. They combine the rich, gooey appeal of brownies with charming ghost faces that steal the show. The best part? They’re as easy to make as they are fun to show off.

    As the season deepens, these treats become more than just dessert — they’re a mood, a memory, and a little spooky delight. Whether for kids or the young at heart, they bring the right amount of chaos and charm to your haunted table. All in all, a perfect mix of sweet and spooky for this haunting season.

  • Unearth the Creepiest Delicacy: Halloween Brain Jello Mold

    Unearth the Creepiest Delicacy: Halloween Brain Jello Mold

    Every October, I find myself drawn to recipes that turn the ordinary into the astonishingly spooky. This Halloween Brain Jello Mold does more than just look gross; it sparks a playful chaos in the kitchen. The aroma of fruity gelatin mingling with a hint of vanilla instantly transports you to a haunted graveyard scene, perfect for non-traditional spooky parties.

    Creating this eerie concoction feels like crafting a piece of edible art. The squishy texture and vibrant, brain-like appearance make it a showstopper on the dessert table. It’s the kind of recipe that invites giggles and gasps alike, breaking the ice at any Halloween gathering.

    Halloween Brain Jello Mold

    The Halloween Brain Jello Mold is a gelatin dessert crafted to resemble a human brain, featuring a squishy, gelatinous texture and vibrant, pinkish-red appearance. Made by layering flavored gelatin to achieve the brain-like folds and ridges, it is a playful yet spooky centerpiece for Halloween parties.
    Prep Time 20 minutes
    Cook Time 10 minutes
    Total Time 30 minutes
    Servings: 8
    Course: Main Course
    Cuisine: Halloween
    Calories: 80

    Ingredients
      

    • 3 cups fruit-flavored gelatin (e.g., cherry or raspberry) divided into two parts
    • 1 cup boiling water for dissolving the gelatin
    • 1 cup cold water to cool the gelatin before pouring
    • 1/2 cup vanilla extract adds flavor and aroma
    • Red or pink food coloring optional to enhance color for a more eerie look

    Equipment

    • Saucepan
    • Mixing bowls
    • Rubber spatula
    • Brain-shaped mold or Bundt pan
    • Measuring cups and spoons
    • Whisk

    Method
     

    1. Start by boiling water and pouring it over half of the powdered gelatin in a mixing bowl. Whisk until fully dissolved, creating a vibrant, syrupy mixture that smells fruity.
    2. Add cold water and vanilla extract to the dissolved gelatin, then stir gently to combine. If desired, add a few drops of food coloring to intensify the color, mixing until uniform.
    3. Pour the gelatin mixture into your mold or a bundt pan, filling it about halfway. Place it in the refrigerator and let it set for about 10-15 minutes until firm but still slightly sticky.
    4. Meanwhile, prepare the second batch of gelatin by repeating the process with the remaining powder and boiling water, then add cold water and vanilla. Mix well and color as before.
    5. Once the first layer is slightly firm, gently pour the second gelatin mixture over it, aiming to distribute it evenly to create the layered, brain-like ridges. Return to the refrigerator and chill for another 15-20 minutes until fully set.
    6. When the gelatin is firm and fully set, carefully invert the mold onto a serving platter and gently tap to release. The dessert should hold its shape with detailed ridges resembling a brain’s surface.
    7. Slice the gelatin mold into sections for serving, revealing the intricate, brain-like folds. The final dessert has a shiny, slightly squishy appearance with textured ridges that look eerily realistic.
    8. Enjoy your spooky, squishy Halloween Brain Jello, perfect for creating a fun and ghoulish centerpiece.

    Notes

    For an extra creepy effect, add edible eye candies or use different colors for depth.

    This Halloween Brain Jello Mold captures the spirit of playful spookiness with ease. It’s perfect for those who love their holiday a little gruesome but totally fun. As the seasons shift and the nights grow longer, this dish adds a splash of eerie delight to any table.

    Enjoy watching the surprised reactions and savoring the strange yet satisfying texture. This creepy creation is a reminder that sometimes the most memorable treats are those that embrace a little chaos. Happy haunting and happy noshing!

  • Spooky Delicious: Halloween Pumpkin Cheesecake Bars

    Spooky Delicious: Halloween Pumpkin Cheesecake Bars

    Every year, as autumn leaves fall and the air grows crisp, I crave something both nostalgic and daring. These Halloween Pumpkin Cheesecake Bars strike that perfect balance, blending a creamy, spiced filling with a subtle crunch from the graham cracker crust. The twist? A whisper of cinnamon and nutmeg that awakens memories of childhood costume parties.

    Gathering ingredients feels like preparing for a festive ritual—smelling the warm pumpkin and spices instantly sets the mood. These bars aren’t just treats; they’re a conversation starter at any spooky gathering. The best part? They come together faster than you’d expect for such a show-stopping dessert.

    Halloween Pumpkin Cheesecake Bars

    These pumpkin cheesecake bars feature a creamy, spiced filling made with pumpkin puree, cream cheese, and warm holiday spices on a graham cracker crust. The dessert has a smooth, dense texture with a slight crumb from the crust, and is often topped with a light dusting of cinnamon or whipped cream for presentation.
    Prep Time 20 minutes
    Cook Time 25 minutes
    Total Time 45 minutes
    Servings: 12
    Course: Main Course
    Cuisine: American
    Calories: 300

    Ingredients
      

    • 1 cup Graham cracker crumbs for the crust
    • 1/4 cup granulated sugar for the crust
    • 1/2 cup unsalted butter melted, for the crust
    • 16 oz cream cheese softened
    • 3/4 cup granulated sugar for the filling
    • 1 cup canned pumpkin puree
    • 3 large eggs room temperature
    • 1 1/2 teaspoons ground cinnamon
    • 1/2 teaspoon ground nutmeg
    • 1/2 teaspoon salt

    Equipment

    • 9×9-inch baking pan
    • Mixing bowls

    Method
     

    1. Combine graham cracker crumbs and 1/4 cup of sugar in a mixing bowl. Pour in the melted butter and mix until the crumbs are evenly coated and resemble wet sand. Press this mixture firmly into the bottom of the baking pan to form an even crust.
    2. Bake the crust in a preheated oven at 350°F (175°C) for about 8 minutes or until lightly golden. Remove from oven and let it cool slightly while you prepare the filling.
    3. In a large mixing bowl, beat the softened cream cheese with an electric mixer until smooth and fluffy, about 2-3 minutes. Add the sugar and continue beating until combined and creamy.
    4. Add the canned pumpkin puree to the cream cheese mixture and beat until well incorporated, creating an orange-tinted, smooth filling.
    5. Break the eggs into a small bowl to check for shells, then one at a time, add them to the filling while mixing on low speed. Mix just until combined after each addition.
    6. Mix in the ground cinnamon, nutmeg, and salt, stirring until the spices are evenly distributed and the filling is smooth.
    7. Pour the pumpkin cheesecake filling over the cooled graham cracker crust, spreading it out evenly with a spatula for a flat, smooth top.
    8. Bake in the oven at 350°F (175°C) for about 17-20 minutes, or until the edges are set but the center still slightly jiggles when gently shaken.
    9. Remove the pan from the oven and let it cool completely on a wire rack, which helps the filling set and prevents cracking.
    10. Once cooled, refrigerate the bars for at least 2 hours or until thoroughly chilled and firm.
    11. Cut into squares and optionally dust with cinnamon or add whipped cream on top before serving. Enjoy the rich, spiced pumpkin flavor!

    Notes

    For a richer flavor, refrigerate the bars overnight before serving. You can also add a layer of whipped cream or decorate with candy for festive presentation.

    This pumpkin cheesecake bar recipe is a reminder that holiday treats can be both playful and impressive. The blend of comforting spices and the smooth, rich filling makes it a perfect centerpiece for a fall gathering or a late-night snack.

    Every time I make these, I feel a surge of seasonal joy—a small, edible piece of Halloween magic. Plus, they’re surprisingly simple to whip up, leaving more time to enjoy the spooky season’s little joys.

  • Whimsical Pumpkin Cheesecake: A Cozy Fall Delight

    Whimsical Pumpkin Cheesecake: A Cozy Fall Delight

    Imagine a pumpkin cheesecake infused with unexpected hints of ginger and a dash of toasted pecans on top. This recipe transforms the traditional fall dessert into a whimsical creation that sparks nostalgia and playfulness. Its silky texture paired with warm spices makes each bite a comforting experience, perfect for cool evenings.

    What sets this cheesecake apart is its surprising crust made from gingersnap cookies, adding a spicy crunch that complements the creamy filling. It’s not just a dessert; it’s a story in every slice, blending memories of pumpkin patches with a modern twist. A little chaos in the kitchen yields a surprisingly charming result that invites smiles and shared memories.

    Pumpkin Ginger Cheesecake with Toasted Pecans

    This pumpkin cheesecake features a creamy filling infused with warm ginger spices, poured into a gingersnap cookie crust. Topped with toasted pecans, the dessert has a smooth, velvety texture and a visually appealing golden-brown surface. The combination of fall flavors and crunchy topping creates a rich, comforting treat.
    Prep Time 30 minutes
    Cook Time 1 minute
    Total Time 1 minute
    Servings: 8
    Course: Main Course
    Cuisine: American
    Calories: 420

    Ingredients
      

    • 200 g gingersnap cookies for crust
    • 100 g unsalted butter melted
    • 450 g cream cheese softened
    • 1 cup granulated sugar
    • 1/2 cup pumpkin puree canned or homemade
    • 3 large eggs
    • 1 1/2 te teaspoons ground ginger adjust to taste
    • 1/2 teaspoon ground cinnamon
    • 1/4 teaspoon ground nutmeg
    • 1/4 teaspoon salt
    • 1/2 cup heavy cream
    • 1 cup toasted pecans for topping

    Equipment

    • Springform pan
    • Mixing bowls
    • Electric mixer or whisk
    • Measuring cups and spoons
    • Rubber spatula
    • Toaster or oven for toasting pecans

    Method
     

    1. Start by crushing the gingersnap cookies until fine, then mix them with the melted butter until well combined. Press this mixture firmly into the bottom of a springform pan to create an even crust. Chill in the refrigerator while preparing the filling.
    2. In a large mixing bowl, beat the softened cream cheese until smooth and fluffy using an electric mixer or whisk, about 2-3 minutes.
    3. Add sugar gradually and beat until fully incorporated and the mixture is creamy.
    4. Mix in pumpkin puree along with ground ginger, cinnamon, nutmeg, and salt, blending until smooth and aromatic.
    5. One at a time, add eggs and beat just until combined after each addition. The batter should be smooth and slightly thickened.
    6. Stir in heavy cream to loosen the mixture and add a silky texture.
    7. Pour the pumpkin mixture over the chilled crust, smoothing the top with a spatula for an even surface.
    8. Bake the cheesecake in a preheated oven at 350°F (175°C) for about 60 minutes, or until the edges are set and the center slightly jiggles.
    9. Remove from the oven and let cool completely in the pan on a wire rack, allowing the filling to set further as it cools.
    10. While the cheesecake cools, toast the pecans lightly in a dry skillet or toaster oven until fragrant and slightly browned, about 3-5 minutes.
    11. Chop the toasted pecans coarsely and sprinkle them generously over the cooled cheesecake for a crunchy topping.
    12. Slice the cheesecake, serve, and enjoy the creamy, spiced pumpkin filling with a crunchy pecan topping that celebrates seasonal flavors.

    This pumpkin cheesecake is more than just a seasonal treat; it’s an invitation to slow down and indulge in simple joys. Its aroma alone can transport you to a cozy fall afternoon, even if you’re indoors. Sharing this dessert can turn a regular gathering into a cherished moment.

    Whether served alongside a flickering candle or a crackling fire, it captures the essence of fall in every forkful. A perfect balance of comfort and creativity, it reminds us that desserts can be both nostalgic and innovative. The season’s best kept secret is finally revealed in every luscious slice.

  • Secret Cinnamon-Apple Swirl Cake You’ll Love

    Secret Cinnamon-Apple Swirl Cake You’ll Love

    Imagine biting into a warm slice of apple cake, but with an unexpected twist: a cinnamon sugar swirl that makes every bite feel like autumn in your mouth. This recipe transforms the usual apple dessert into a comforting, fragrant experience that’s perfect for crisp mornings or cozy afternoons. It’s not just a cake; it’s a memory wrapped in buttery layers and festive spices.

    I’ve always been enchanted by how certain flavors evoke nostalgia, and cinnamon with apple does just that. What makes this cake special isn’t just the pearly glaze or tender crumb; it’s the way the cinnamon swirl ripples through each piece, creating tiny pockets of warmth. It’s a bit unconventional, but the extra effort makes the ordinary extraordinary.

    Apple Cinnamon Swirl Cake

    This apple cinnamon swirl cake features a tender crumb infused with fresh apple pieces and a fragrant cinnamon sugar mixture that ripples through the batter. The cake is baked until golden and topped with a glossy pearly glaze, offering a soft, moist texture with visible cinnamon layers. Its appearance showcases a beautifully marbled swirl pattern that hints at warm, cozy flavors.
    Prep Time 20 minutes
    Cook Time 40 minutes
    Total Time 1 hour
    Servings: 8
    Course: Main Course
    Cuisine: American
    Calories: 310

    Ingredients
      

    • 2 cups all-purpose flour sifted
    • 1 cup granulated sugar
    • 1/2 cup unsalted butter melted
    • 2 large eggs
    • 1 teaspoon vanilla extract
    • 1/2 cup milk
    • 2 cups peeled and chopped apples about 2 medium apples
    • 1 cup granulated sugar
    • 1 tablespoon ground cinnamon

    Equipment

    • Mixing bowls
    • Whisk
    • Rubber spatula
    • Loaf or cake pan
    • Knife
    • Cutting board
    • Oven

    Method
     

    1. Preheat your oven to 350°F (175°C) and grease your cake or loaf pan to prevent sticking.
    2. In a large mixing bowl, whisk together the sifted flour and sugar until well combined and airy.
    3. Pour in the melted butter, eggs, vanilla extract, and milk, then whisk until the batter is smooth and slightly thickened.
    4. Gently fold in the chopped apples, ensuring they are evenly distributed throughout the batter.
    5. In a small bowl, mix together the sugar and cinnamon to create the cinnamon swirl mixture.
    6. Pour half of the batter into the prepared pan, then sprinkle evenly with half of the cinnamon sugar mixture.
    7. Add the remaining batter on top and smooth the surface with a spatula.
    8. Sprinkle the rest of the cinnamon sugar evenly over the top of the batter.
    9. Bake in the preheated oven for about 40 minutes, or until the top is golden and a toothpick inserted in the center comes out clean.
    10. Remove the cake from the oven and let it cool in the pan for 10 minutes, then transfer to a wire rack to cool completely.
    11. Optionally, drizzle with a pearly glaze or dust with powdered sugar for a finishing touch.
    12. Slice and serve the cake once cooled, revealing beautiful cinnamon swirls and moist apple pieces within.

    Seasonal and soulful, this apple cake invites everyone to gather around with mugs of tea or coffee. Its aroma alone signals comfort, making it an ideal pick for lazy Sundays or unexpected guests. The balance of sweet, tart, and spicy makes every forkful a small celebration of fall’s bounty.

    So next time you crave something homemade that balances simplicity and flair, give this recipe a try. It’s a delightful way to showcase fresh apples and remind yourself that good baking can turn simple ingredients into something memorable.

  • Spiced Pumpkin Cookies: A Cozy Fall Treasure

    Spiced Pumpkin Cookies: A Cozy Fall Treasure

    As autumn leaves crunch underfoot, the aroma of baked pumpkin cookies wafts through the air, stirring nostalgia and anticipation. These cookies aren’t just sweet treats; they’re a symphony of spices and memories, perfect for chilly mornings or festive gatherings.

    What makes this recipe truly special is its subtle twist on classic pumpkin cookies—think a hint of cardamom mingling with cinnamon, giving each bite a fragrant surprise. The dough is surprisingly forgiving, making it an ideal project for cozy weekends spent kneading and shaping. Once baked, their tender texture and flavorful warmth linger long after the oven cools.

    Let’s dive into the comforting world of pumpkin-spiced goodness, where every bite feels like a warm hug from fall itself. These cookies are simple to make but feel like a special occasion, especially when paired with a cup of cinnamon-spiced chai or a splash of vanilla milk.

    Pumpkin-Spiced Cookies

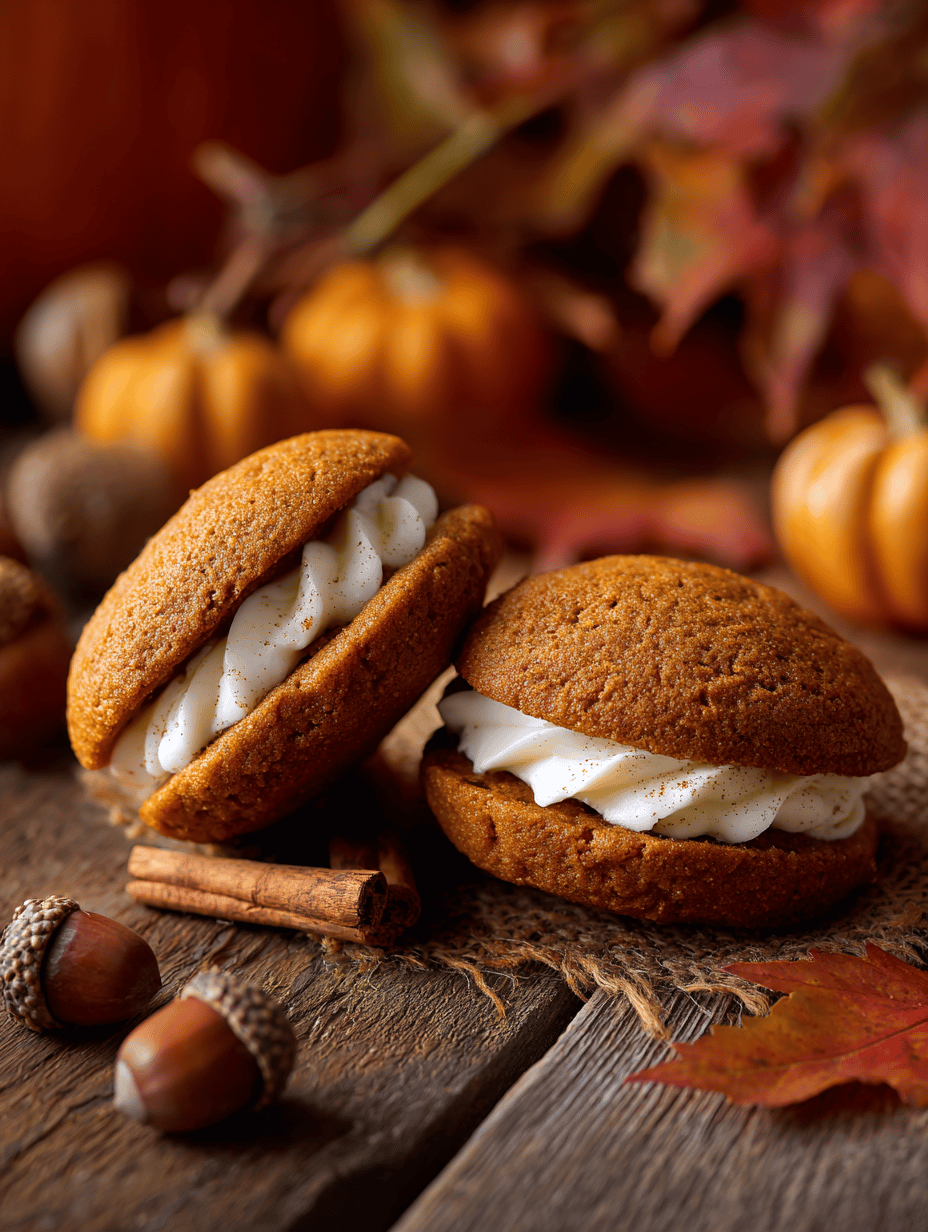
    These pumpkin-spiced cookies are tender and melt-in-your-mouth, made by mixing pumpkin puree into a spiced dough and baking until golden. They feature a soft texture with a slight chewiness and a fragrant aroma of cinnamon and cardamom, resulting in visually appealing, golden-brown cookies with a cracked surface.
    Prep Time 20 minutes
    Cook Time 12 minutes
    Total Time 32 minutes
    Servings: 12
    Course: Main Course
    Cuisine: American
    Calories: 150

    Ingredients
      

    • 1 1/2 cups all-purpose flour sifted
    • 1 cup pumpkin puree
    • 1/2 cup brown sugar packed
    • 1/4 cup granulated sugar
    • 1/2 cup unsalted butter softened
    • 1 large egg
    • 1 1/2 teaspoons ground cinnamon
    • 1/2 teaspoon ground cardamom for fragrant flavor
    • 1/2 teaspoon baking powder
    • 1/4 teaspoon salt

    Equipment

    • Mixing bowls
    • Baking sheet
    • Parchment paper
    • Whisk
    • Spatula
    • Cooling rack

    Method
     

    1. Preheat your oven to 350°F (175°C) and line a baking sheet with parchment paper.
    2. In a large mixing bowl, whisk together the softened butter, brown sugar, and granulated sugar until the mixture is smooth and creamy, with a slight gloss.
    3. Add the egg and vanilla extract to the creamed mixture and whisk until fully incorporated, resulting in a fluffy, homogeneous base.
    4. Mix in the pumpkin puree until the batter is smooth and evenly colored, giving a vibrant orange hue that hints at fall flavors.
    5. In a separate bowl, combine the sifted flour, cinnamon, cardamom, baking powder, and salt. Whisk to evenly distribute the spices and leavening agents.
    6. Gradually fold the dry ingredients into the wet mixture using a spatula, mixing just until combined and the dough comes together softly.
    7. Using a cookie scoop or spoon, portion out the dough onto the prepared baking sheet, spacing each cookie about 2 inches apart to allow for spreading.
    8. Bake in the oven for about 12 minutes, or until the edges are lightly golden and the centers look set but still soft.
    9. Remove the baking sheet from the oven and let the cookies cool on the sheet for 5 minutes to firm up before transferring them to a cooling rack.
    10. Place the cookies on a wire rack and allow them to cool completely, revealing their cracked, rustic surface and tender texture.
    11. Once cooled, serve your pumpkin-spiced cookies alongside a warm beverage for a cozy treat.

    These pumpkin cookies are a reminder that seasonal ingredients can transform simple baked goods into heartfelt treats. They’re perfect for unexpected guests or those quiet moments of indulgence when you want a little warmth in every bite.

    Enjoy the comforting aroma filling your kitchen and cherish these small pieces of autumn. Sometimes, it’s the simplest recipes that leave the sweetest memories to savor long after the last crumb disappears.

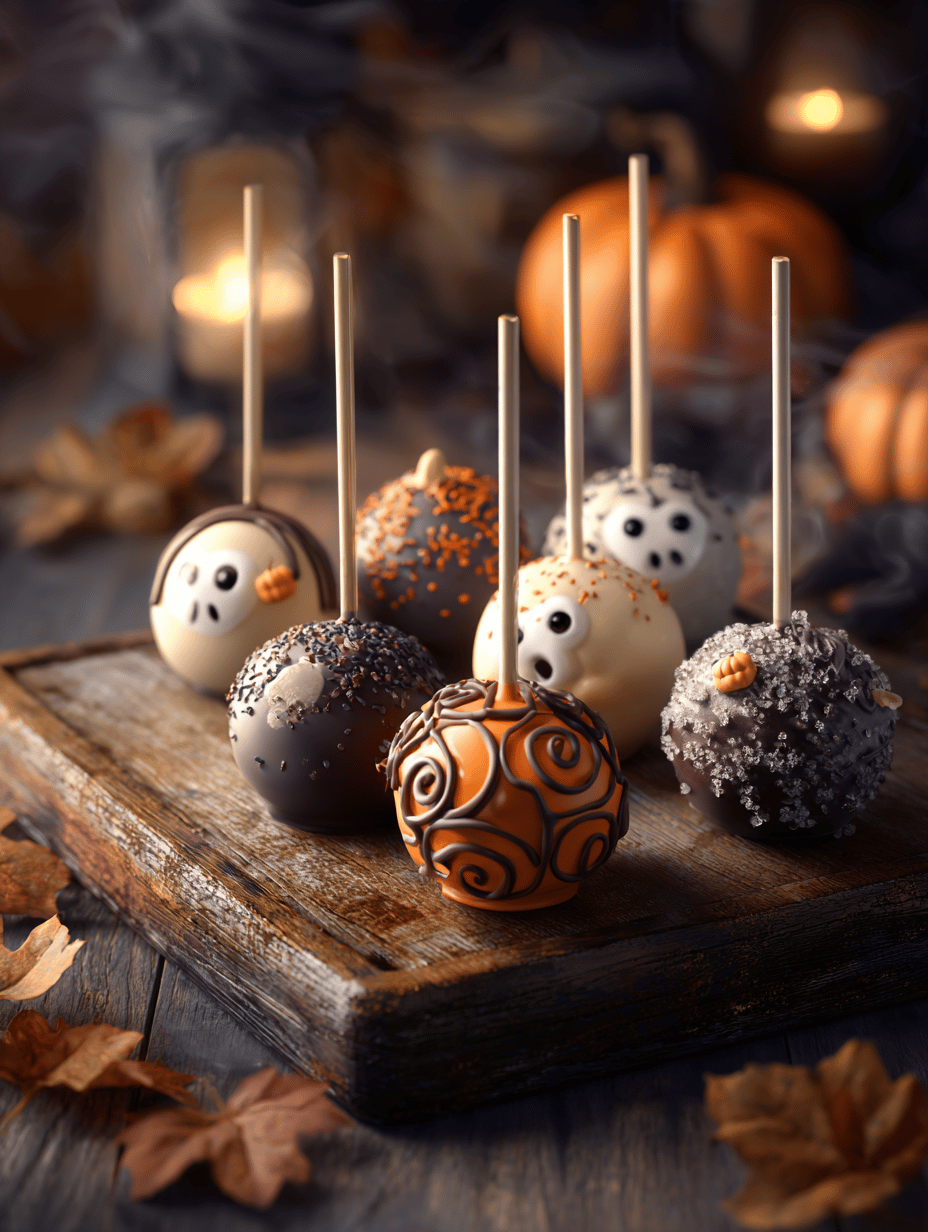
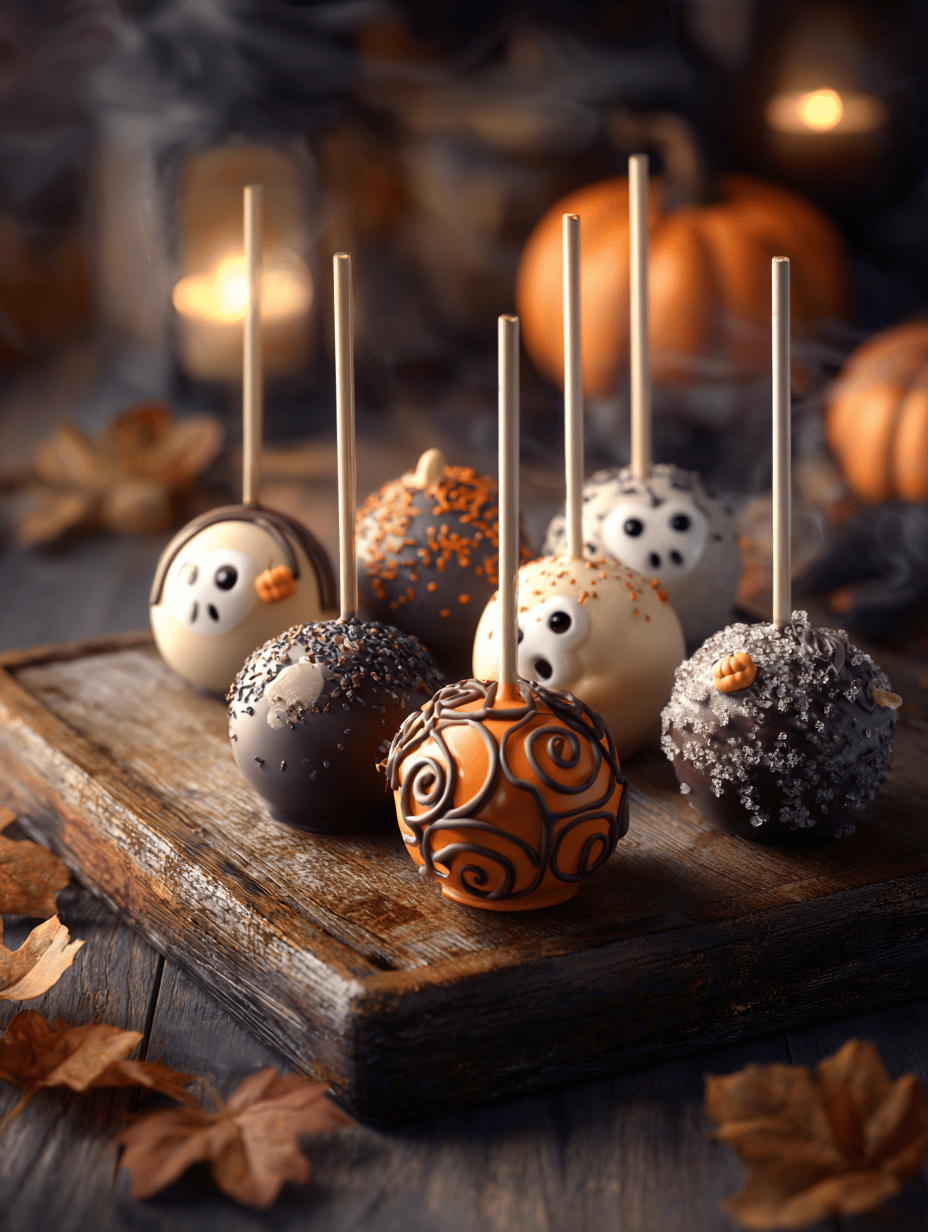
  • Spooky Delight: Halloween Monster Eyeball Cake Pops

    Spooky Delight: Halloween Monster Eyeball Cake Pops

    Every October, I find myself craving projects that blend chaos and cuteness. These Halloween Monster Eyeball Cake Pops do just that, with their quirky, bloodshot eyes and squishy texture. They remind me of childhood monster stories that still make me peek around corners.

    Crafting them feels like a tiny part of a haunted house. The squeals of delight from friends and family come with every eye you pop onto a stick. These treats turn a simple party into a full-blown Halloween spectacle, blending horror with humor in each bite.

    WHY I LOVE THIS RECIPE?

    • Pure chaos, straight from my kitchen, turned into adorable monster eyes.
    • Joyful moments when friends guess the hidden flavors—chocolate, cherry, and a touch of chaos.
    • Relief that these pops are surprisingly easy, so I can focus on costumes, not cleanup.
    • Feeling nostalgic for childhood monsters and candy adventures.
    • The pride of creating something spooky yet edible with my own two hands.

    AVOID MY DISASTER (You’re Welcome)

    • FORGOT to chill the cake ball mixture—the eyes fell apart; refrigerate forthwith.
    • DUMPED melted chocolate on the vacuumed table—used parchment to save it.
    • OVER-TORCHED the candy eyes; bell pepper sponge helps fix the cracked openings.
    • FORGOT to secure the eyeball with enough icing; double-dip for sturdiness.

    QUICK FIXES THAT SAVE YOUR DAY

    • When eyes crack, splash a little edible glue and press gently—shimmer restored.
    • If icing is too thick, thin it with a tiny drop of milk for perfect spreading.
    • When chocolate won’t set, chill for five minutes in the fridge—crackle less.
    • Shield cracked eyes with a thin layer of white chocolate—saves the look.
    • If you’re out of food coloring, use a pinch of freeze-dried powder for vibrant hues.

    These Monster Eyeball Cake Pops are a treat that captures the playful spirit of Halloween. Their slightly creepy yet charming appearance makes them perfect for parties or a fun kids’ baking day. The festive season gets even more delicious with a batch of these peculiar, colorful candies.

    In the end, it’s about embracing messy creativity and sharing a laugh with loved ones. No matter what goes wrong in the kitchen, the joy of making spooky sweets is what keeps the season alive. So, gather your ingredients and get ready for some friendly monster mischief.

    Halloween Monster Eyeball Cake Pops

    These cake pops are made by combining crumbled cake with frosting to form a dough, which is then shaped into small balls. They are coated in melted chocolate and decorated to resemble creepy eyeballs with bloodshot, textured appearances. The final treat has a chewy, moist interior with a glossy, detailed exterior that mimics realistic eyeballs.
    Prep Time 30 minutes
    Cook Time 10 minutes
    Total Time 40 minutes
    Servings: 10
    Course: Main Course
    Cuisine: Halloween
    Calories: 150

    Ingredients
      

    • 2 cups crumbled cake (e.g., chocolate or vanilla) cooled and crumbled into fine pieces
    • 0.5 cup buttercream frosting to bind the cake crumbles
    • 16 oz melted chocolate (dark or white) for coating the cake balls
    • 10 pieces lollipop sticks
    • 1 cup red-colored candy melted or colored white chocolate for bloodshot effect
    • optional food coloring or powdered freeze-dried icing color to dye the chocolate or candy

    Equipment

    • Mixing bowls
    • Chocolate melting tools
    • Lollipop sticks
    • Baking sheet
    • Cooling rack
    • Small piping bags or brushes

    Method
     

    1. Mix the crumbled cake with the buttercream frosting until well combined and crumbly but able to hold together when shaped.
    2. Roll the mixture into small, even-sized balls about the size of a golf ball and place them on a baking sheet lined with parchment paper.
    3. Insert a lollipop stick into each cake ball, pushing about halfway in, and chill in the refrigerator for at least 30 minutes to firm up.
    4. Place the chilled cake pops in a holder or stand and dip each into the melted chocolate, tapping off excess to create a smooth, shiny coating.
    5. Set the coated cake pops on a cooling rack and let the chocolate set completely, about 15-20 minutes.
    6. Use a piping bag or a small brush to add red-colored candy or melted red chocolate around the edges of the eyes for a bloodshot effect, and create bloodshot lines by piping thin red lines across the eyeballs.
    7. For the eyeballs’ detailed appearance, add small dots of contrasting colored chocolate or icing to simulate blood vessels and give the monster eye a creepy, textured look.
    8. Allow the decorated cake pops to set for an additional 10 minutes, ensuring all decorations are firm.
    9. Enjoy your spooky, creepy eyeball cake pops, perfect for Halloween parties or a fun baking activity with kids.

    As the lights dim and Halloween night falls, these eyeball cake pops bring a dash of whimsy to the spooky atmosphere. Each bite offers a surprising crunch and a sweet, slightly fruity flavor that’s irresistible. They’re not just treats; they’re conversation starters and memory makers.

    Remember, the chaos in the kitchen often leads to the most memorable creations. Let your imagination run wild and enjoy every moment of your Halloween baking adventure. After all, some of the best stories come from the funniest mistakes.